Wednesday, October 14, 2015

Halloween Fun


These cute little pumpkins were created by children between the ages 12 months and 5 years old.  This was a fun and easy craft that is still holding up well and decorating our home for the holidays years later.  

What you need:

  • logs, railroad ties, or fence posts cut and sanded
  • decent size branches about 1.5-2in thick cut and sanded
  • nails long enough to go through the "steam" and into the "pumpkin"
  • tempera paints (we used crayola washable paints)
  • paint brushes
  • clear outdoor spray paint

Prepare the "pumpkins" prior to having the kids paint them, but leave the stem off.  An adult should add the stem after the "pumpkin" is fully dry.  

Give each child a "pumpkin" some paint and a paint brush and let them have some fun.  


Once they are dry and adult can add the stem and spray them with a clear spray paint.  Coat it lightly or the paint will run.  After the first coat dries you can apply a second.  

Enjoy the decoration for years to come.  


Wednesday, October 7, 2015

Halloween Party

Halloween is almost here.  It has been a while since I have really had a chance to sit down and design something fun.  This week I am going to share a free printable for everyone.

I decided to make halloween party invites.  These can be printed out as a 4x6in photo.  You can type over them in your editing program, or write on them after you print them, or for a small charge I will customize it to fit your needs; HERE.

I created two different variations.  Enjoy, and have a happy Halloween.  :)


Click on each image to enlarge.  Right click on the image and save to your computer.


Wednesday, March 4, 2015

They Always Make a Mess & Never Play with Their Toys!

Have you ever cleaned up after your child and look at the number of toys they rarely or never play with?  Is your child often bored and rather than playing bugging you?

Here are a few quick solutions to help make your life and your child's a little more productive.


Start as an infant.  

Using  a small bucket or tote to teach your infant to clean up.  Turn it into a game and assist them with clean up after play.  It will soon become habit.

Toddlers LOVE to organize and sort, but they also LOVE to destroy.  We have tried several different organizational methods and found benefits to each.

Following small buckets for the infant stage:

Our first was a shelf with doll rods and open buckets.  This worked great until my toddler quickly learned to empty it all by himself.  Our house was very quick to look like a tornado.  The doll rods were also not sturdy and were quick to break.


After that we moved on to a really nice shelf made of wood that holds plastic shoe boxes with lids.  This is not a perfect solution, but the kids are not near as quick to open every box and dump it where they can.  It is also nice because larger toys fit perfectly on the top of the shelf.


Our next purchase was a very large toy box.  While developmentally it is not as sound as teaching sorting and organizing, in combination with the shelf it was a perfect match for those big toys and stuffed animals that just didn't fit in a plastic shoe box nice and neatly.


Create "New" Toys

Once you find the perfect solution for toy storage in your home the key is to keep toys fresh.  Our boys have a wide range of developmentally appropriate toys, most of which are sorted into plastic shoe boxes with lids on them.

-Mr. Potato Head & Pieces
-Pretend Animals
-Weebles
-Peek-a-Blocks
-Play Dough
-Wooden Building Blocks
-Cars
-Stacking Cups
-Crayons & Stickers

Other things that need larger storage are sorted into large Rubbermaid tubs or plastic drawers.

-Pretend Food & Kitchen Accessories
-Lego Duplo Blocks
-Train Sets
-Tool Sets
-Doll Clothing
-Dress Up Clothes

That just gives you an idea of what you can put into the boxes for your child to play with.


Now to keep your kids busy and not bored with their toys you need to keep them new.  When a child gets a new toy they play with it for days, maybe even weeks, but then it often more times than not becomes lost in the mess of other toys.  Try rotating every month or so the toys your children have to play with.  We simply rotate 2-3 tubs off of the shelf with a few "new" toys every so often and the kids have new toys all over again.  If you ever need additional tubs Dollar General & Dollar Tree sell them very cheap and they are higher quality than the ones included. 


If you have them happy and busy and a way to organize when they are finished playing what do you do when there just becomes too much?  Prior to each birthday & holiday we sift through the boys toys and donate or throw out broken toys, developmentally inappropriate toys, and toys that are no longer played with.

Wednesday, February 25, 2015

Stepping Stones

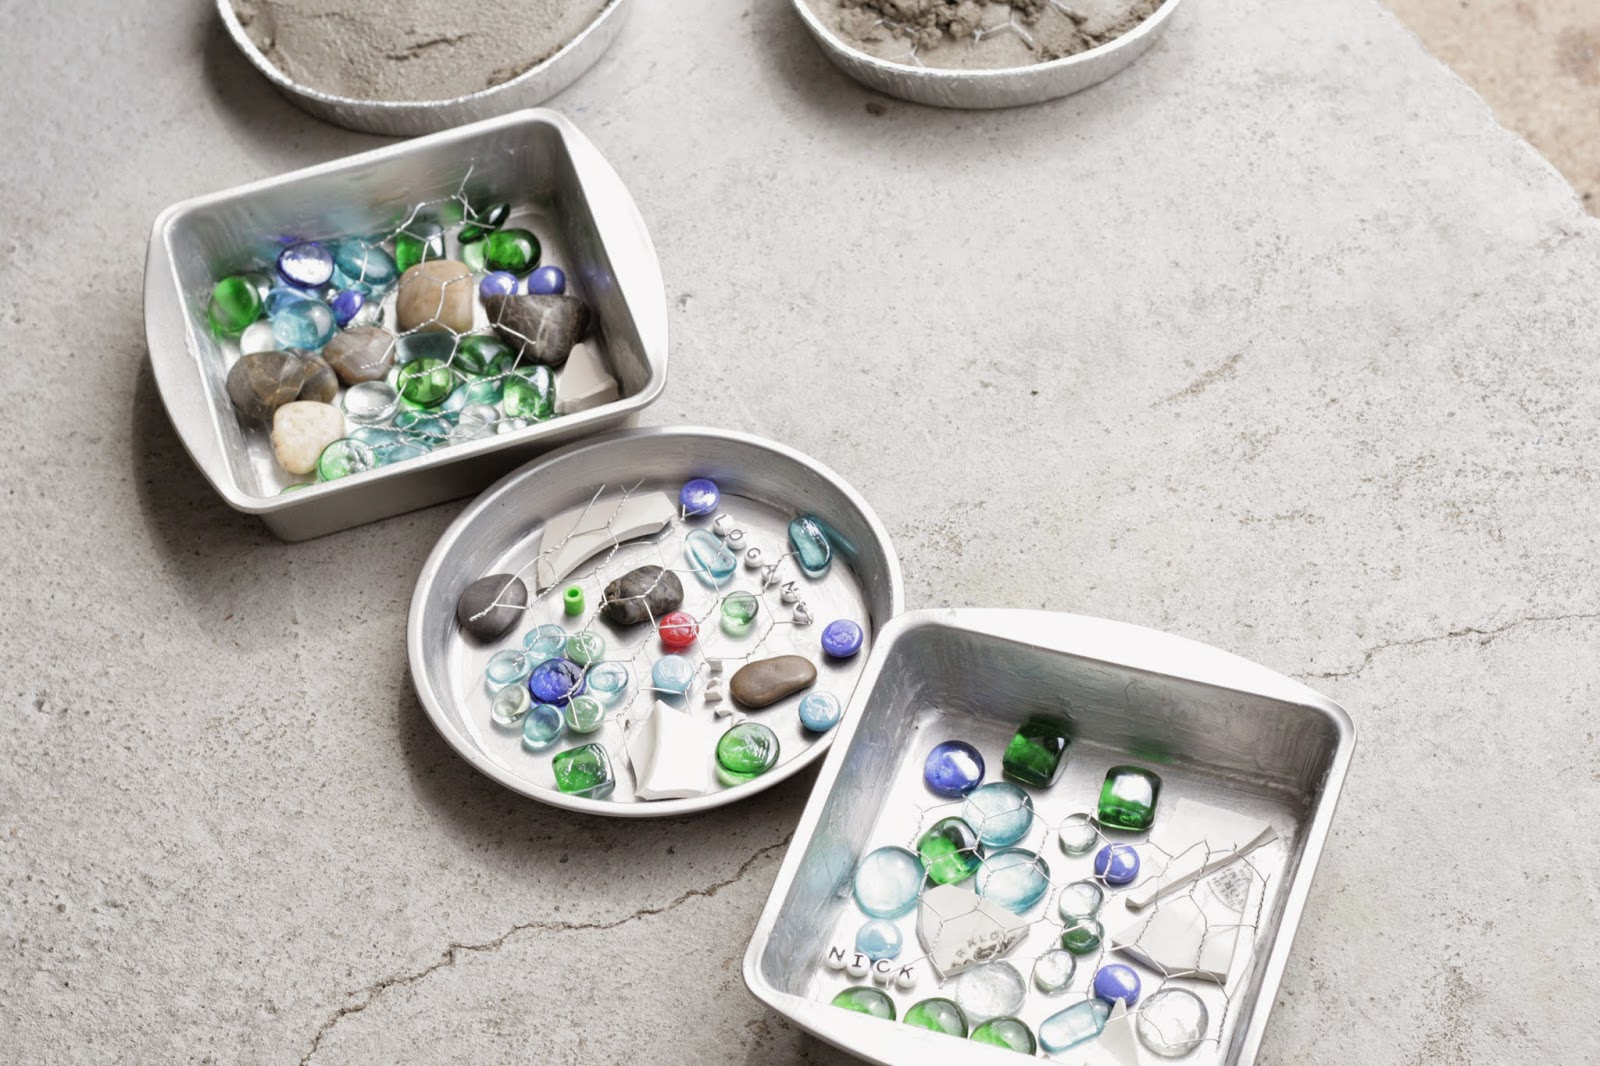
This was a fun craft to make with the kids.  You really need children at least 3 years old to really understand what to do.  


You will need:
  • Square or Round Cake Pan (Dollar Tree Sells Them)
  • Vaseline
  • Contact paper
  • Old plates or saucers that you don’t need 
  • Glass gems
  • stones
  • concrete
  • clear outdoor spray paint
  • chicken wire or other type of wire mesh
  • safety glasses
  • rubber gloves
  • dust mask
  • hammer
  • bucket
  • trowel
  • water

Before the kids come around you want to break up the plates using the hammer so that they are already in pieces the kids can handle.  You can use a pliers to remove any really sharp points.  

Cut the contact paper so that it fits in the bottom of your cake pan.  

Rub the entire inside of your cake pan with vaseline.  Then remove the backing from the contact paper and place it into the cake pan sticky side up.  

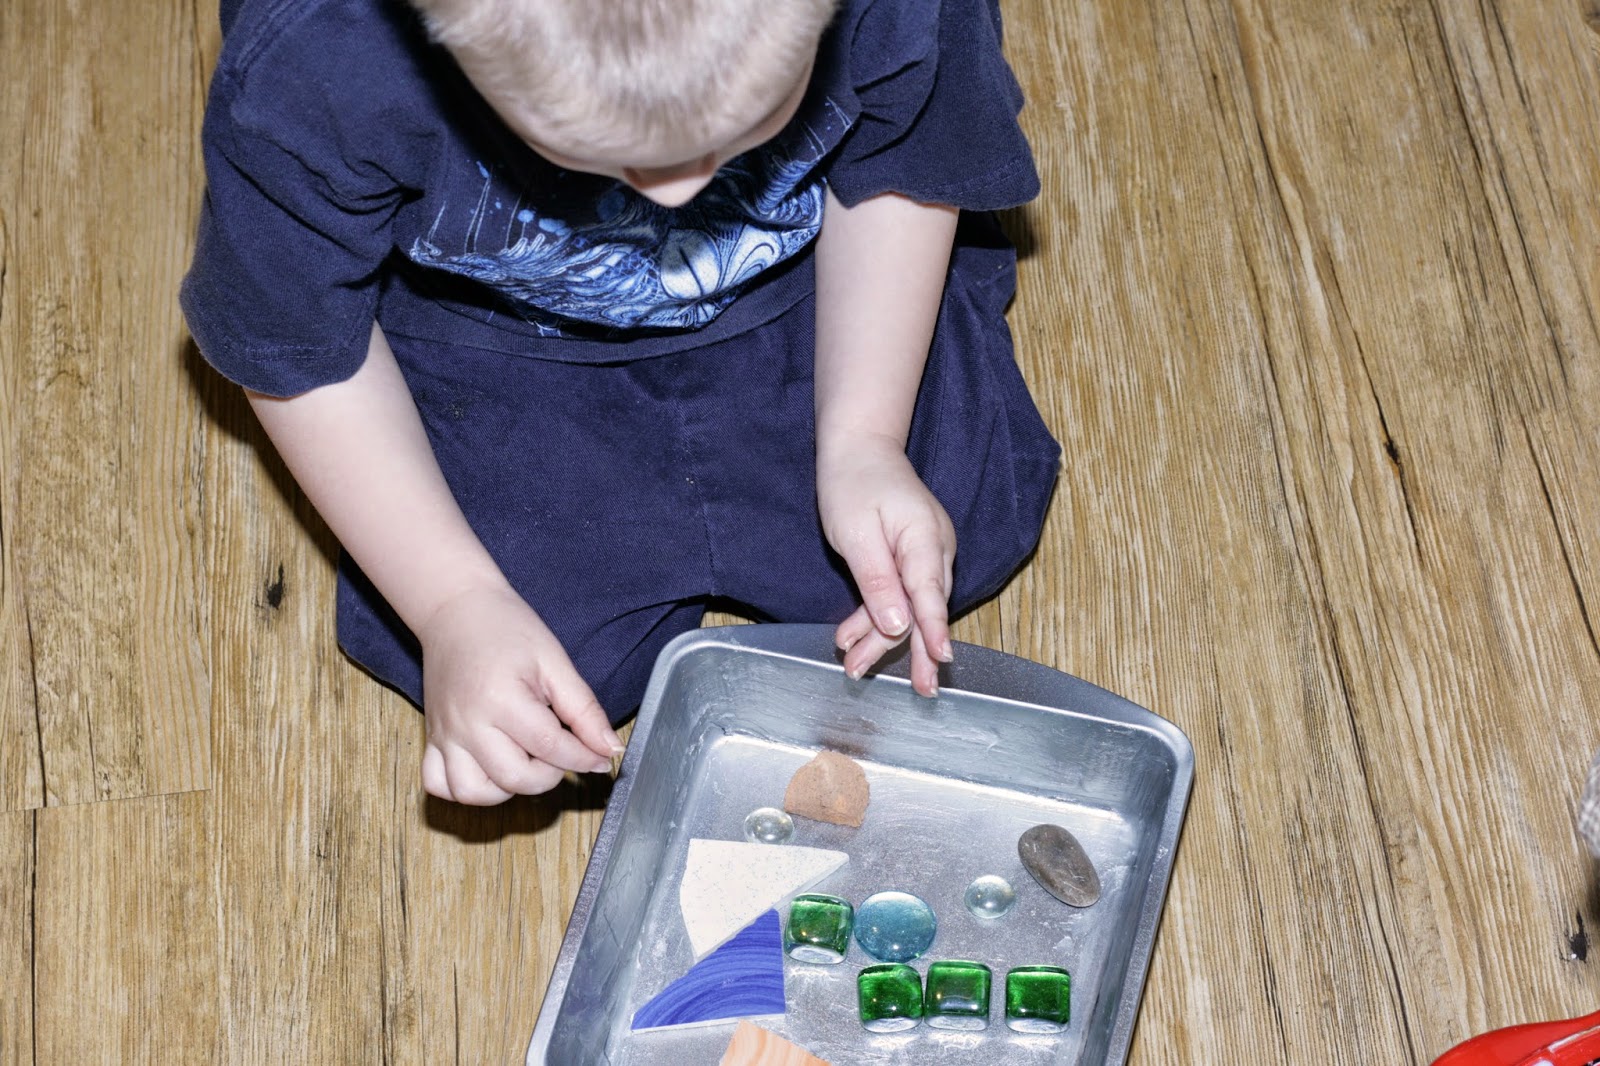
Have the kids use the gems, stones, and broken plates to create a design of their choice.  Make sure they press it into the contact paper well.  

Mix the concrete as instructed by package.  This stuff is super cheap at your local hardware store.  You will need a bucket, trowel, and water for this step.  You will likely also want gloves and a dust mask.  

Spread a small amount of concrete into the cake pan so that the design is covered.  

Cut a small piece of chicken wire so that it will fit flat on top of the concrete you just poured.  

Gently tap the pan to the ground to ensure that the concrete works itself into all of the groves.  Use the trowel to spread it into the pan.  

Fill the cake pan the rest of the way to the top with concrete and tap again to make sure the pan is filled.  

At this point you can use your finger or a stick to write names or years into what will be the bottom of the stepping stone.  

Leave these in a dry location and in a few days they should be dry enough to remove from the pan.  Once all the way hardened wash them off with clean water and let them dry.  Then you can coat them with several layers of outdoor clear spray paint to help with longevity.  


Wednesday, February 18, 2015

Baby Shoes - What's NEW

Baby shoes are adorable, and you can buy one for every outfit, but should you?
Podiatrists and pediatrician's a like will tell you that your baby's foot development is best if left free from shoes until walking is well established and the child should be allowed to be free from hard soled shoes as much as possible until 2 years old to allow proper arch development and to strengthen their ankles.

We are very luck now to have so many places to get great soft soled shoes that are durable and stay on baby's feet securely while they crawl and cruise about.

Robeez are a popular brand that many like and I myself have put them on my children.  I have also used shoes made by moms in the USA as well that were just as nice of quality, and some even have nice soft fuzzy lining.

So if you are looking to save a little money you can just buy socks and enjoy handmade booties by grandma, or if you still want to have a shoe for every outfit their is still options with the growing knowledge that soft soled shoes are the way to go and more manufactures making them. 

You can learn more about foot development from this website http://www.fisher-price.com/fp.aspx?st=10&e=expertadvice&content=51788

Here is one place I like to buy soft soled shoes from.  http://hyenacart.com/stores/pitterpat/


Wednesday, February 11, 2015

My Baby Can Walk!!!

Walkers are great aids in helping our children get around and learn to bear weight on their legs, but what you might not know is that early weight bearing and the mobility given by walkers can be physically and mentally harmful to your child's development and well being.


Walkers are adorable and may have been used by your parents, and are probably recommended by other mothers, but since walkers were introduced studies have been done time and time again all with the same results.  Back in 1997 pediatricians even tried to get walkers banned, but they were too much a part of our culture to outlaw them.

Shortly after walkers were learned to be dangerous an approximate 25,000 infant injuries each year occurred ending in a visit to the E.R. were caused by walkers.  In a more recent study approximately 21,000 infants each year suffer from injuries caused by using a walker.  Imagine all of the injuries not reported because they were not serious enough to be seen at an E.R.  

Developmental Delays: 
Studies at several universities showed that walkers do not help your child's development, but in fact they hinder development.  Because of the placement in the seat children often are delayed in sitting up, crawling & walking.  These are all crucial developmental milestones.  Cross-crawling aids in mental brain development and often children who skip one or more developmental stage later on  retain infantile reflexes.  Walking independently is often delayed or distorted because a walker causes the toes and lower legs to strengthen and develop, but fails to build strength in the upper thighs that are required to be able to walk. 

Injuries:
Walkers are known to tip over, roll down stairs, enable an infant to reach harmful chemicals or burn themselves, and they are much more prone to pinching their fingers.  In addition to these often minor injuries life long injuries can occur.  Motor development mimicking spastic diplegia has been seen in many children using walkers as well as irregular muscle development and bone growth.  Putting weight on a child's legs prior to readiness which can occur anywhere from 9-16 months can cause life long bone and join pains. 

Another Option:
Since the discovery of the danger of walkers their presence in modern day America has decreased and a new safer toy has emerged.

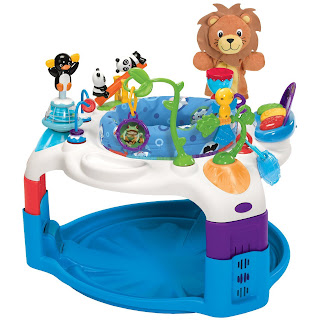
The exersaucer, when used appropriately this type of stationary toy can provide entertainment safely and without developmental harm. 

An exersaucer will allow your child to spin around using their arms with only their toes touching.  While they spin they can find a wide range of developmentally appropriate toys to play with.  You can't take it down the stairs, or walk it over to the stove, and mommy can still get work done around the home.


I hope you find this insightful and can find safe alternatives to the quickly going out of style and unsafe baby walker.  I know that if my caregivers had known the dangers and the pain later in life use of a walker would cause I am sure they would have chose and alternative form of play. 


You can find more information at these sites and many more:
http://www.mayoclinic.com/
http://www.ncbi.nlm.nih.gov/guide/
http://www.nytimes.com/1997/10/14/science/baby-walkers-may-slow-infants-development.html
http://www.livestrong.com/article/75875-pros-cons-baby-walkers/

Wednesday, February 4, 2015

Valentines - Part 2


Valentine's Day is often filled with chocolates and sweets, but you can give a sweet treat without it being chocolate and candy.  

Toddlers will love this activity and so will their peers.  Included is a free download of the card.  


A great toddler - second grade idea.

A Spoonful of Sugar

These are a fun way to add a non candy treat.  You will need:

Twine or Ribbon
Spoons
Card-stock or Blank Business Cards (Print included download onto your cards)
Single Serving Cereal Boxes (You can buy these in bulk on Amazon.com)
Scissors
Hole Punch
Scotch Tape
Crayons or Color Pencils

First -

Tape each spoon to the cereal box.

Second -

Have your child write their name and(optional) decorate the back of the card.


Third -

Punch holes in the corner of each card.

Fourth -

Cut enough twine or ribbon to wrap around each box and tie a bow.

Fifth -

Tie each piece of twine or ribbon around the box, threading on the card and finishing off with a bow.


I also found these adorable little decorative spoons if you wanted to do something a little fancier.  


These were an easy project for my 4 1/2 year old autistic son, and worked on a lot of valuable skills.  

You can download a copy of the card HERE.